 Save
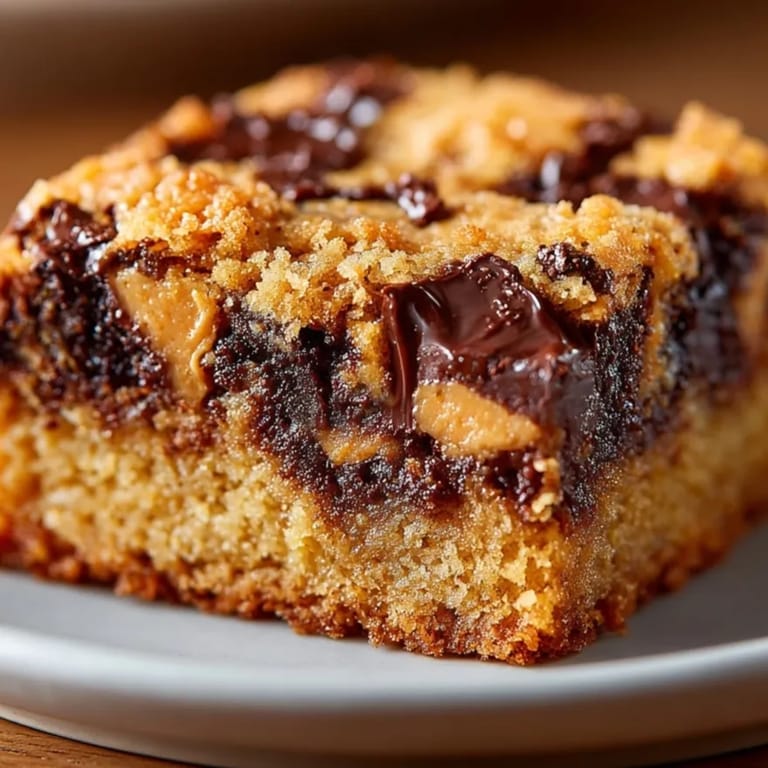
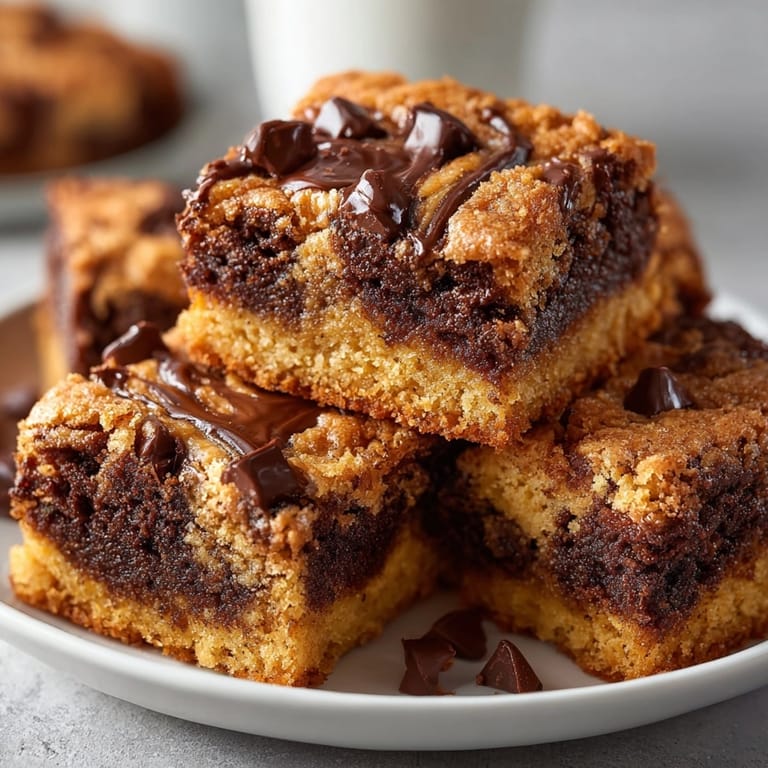
Save Chocolate peanut butter blondies are my go-to treat when I want the cozy chew of a cookie but in easy bar form. Each buttery square is rippled with creamy peanut butter and loaded with chocolate chunks so you get that perfect sweet and salty bite in every mouthful. These are ideal for bake sales or quick weeknight desserts because you can mix everything by hand and bake them up in under an hour.
The first time I baked these blondies was for a movie night with friends. They vanished before the opening credits and now my family thinks of blondie night as a special tradition.
Ingredients
- All-purpose flour: provides the blondies’ structure so select a good quality unbleached flour if you can
- Baking powder and baking soda: give just the right lift so your bars are chewy not cakey
- Salt: balances the sweetness and brings out the flavor notes especially with the chocolate
- Unsalted butter, melted: creates a fudgy base with a rich taste choose European-style for best flavor if possible
- Light brown sugar: adds moisture and caramel undertones look for moist clump-free sugar
- Granulated sugar: sharpens the sweetness and helps create that classic crust
- Eggs, at room temperature: bind everything together for even baking
- Pure vanilla extract: infuses the bars with warm bakery-style aroma use real vanilla for best results
- Creamy peanut butter: swirled throughout for salty nutty ribbons opt for a smooth variety with minimal additives
- Semi-sweet chocolate chips or chopped chocolate: melt into gooey pools choose a brand with high cocoa content
Tired of Takeout? 🥡
Get 10 meals you can make faster than delivery arrives. Seriously.
One email. No spam. Unsubscribe anytime.
Instructions
- Prepare the Pan:
- Line your eight-inch square baking pan with parchment paper and leave an overhang so you can lift out the blondies later. This guarantees a smooth removal and neatly cut squares.
- Mix the Dry Ingredients:
- In a medium bowl whisk the flour baking powder baking soda and salt thoroughly. Make sure everything is evenly distributed so your blondies develop the right texture.
- Combine the Wet Ingredients:
- In a large bowl whisk together the melted butter brown sugar and granulated sugar until glossy and combined. This step builds the base flavor and gives that shiny blondie crust. Once combined whisk in the eggs and vanilla until the batter becomes smooth and cohesive.
- Fold in Dry Ingredients:
- Gradually add your dry mixture to the wet bowl and fold with a spatula until just blended. Stop mixing as soon as you see no streaks of flour because overmixing makes the blondies tough.
- Add Chocolate Chunks:
- Reserve a small handful of chocolate chips then fold the rest into the batter gently. You want chocolate in every bite without turning the batter dark.
- Swirl in Peanut Butter:
- Scrape the batter into your prepared pan and spread it into an even layer. Drop spoonfuls of creamy peanut butter on top and use a knife or skewer to create pretty swirls. Scatter the reserved chocolate over the top for extra decadence.
- Bake:
- Place the pan in your preheated oven and bake for between twenty-three and twenty-six minutes. The edges should be golden and the center just set. Check with a toothpick and look for a few moist crumbs sticking to it not wet batter.
- Cool and Cut:
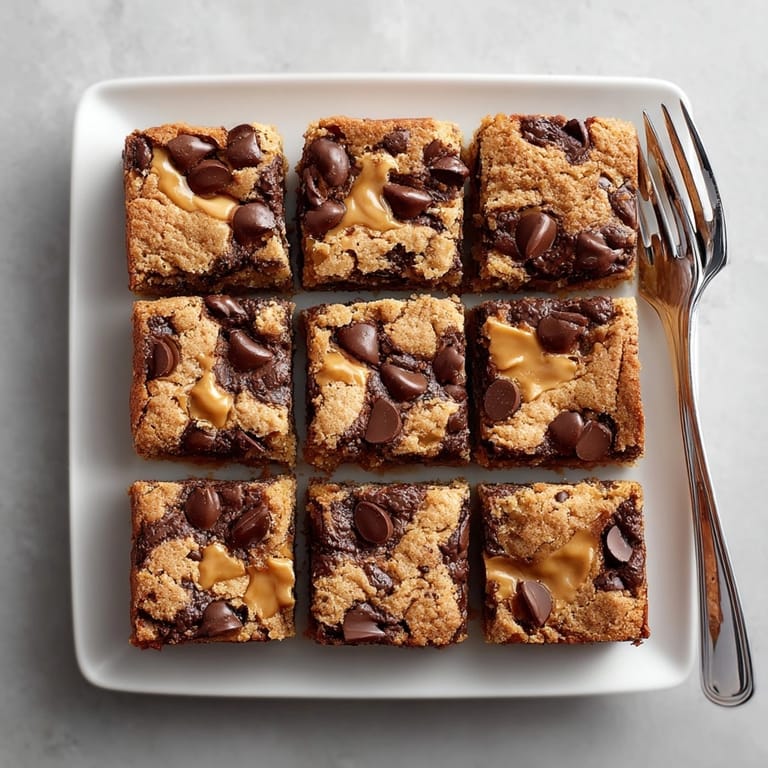
- Allow the blondies to cool completely in the pan on a rack before using the parchment overhang to lift them out. Once cooled cut into sixteen squares for perfect snack-sized portions.
 Save
Save I absolutely love the way creamy peanut butter ribbons melt into the rich dough here. My favorite moment is swirling the peanut butter on top and knowing every bar will look a little different when you slice in. My family always hovers around the kitchen as they cool—no one can resist those chocolate puddles.
Storage Tips
Keep blondies fresh by storing them in an airtight container at room temperature for up to four days. If you prefer them chilled or want them to last longer they freeze beautifully. Just wrap them tightly and place in a freezer-safe bag. Pop a bar in the microwave for a quick school or work snack straight from the freezer.
Ingredient Substitutions
Use dark chocolate or hazelnut spread for a richer or fancier twist. For those avoiding peanuts almond or sunflower seed butter works well. For a gluten-free version swap out the flour with a cup-for-cup gluten free blend—just watch the texture as some mixes absorb more moisture.
Serving Suggestions
Serve warm blondies with a scoop of vanilla or coffee ice cream and a drizzle of extra melted chocolate. Cut them larger for a decadent plated dessert or in bite-sized squares for parties and lunchboxes. You can even sandwich two together with ice cream for an indulgent treat.
Cultural and Seasonal Notes
Blondies are a quintessential American treat and the peanut butter chocolate combo is truly classic. In summer try swirling in berry jam with the peanut butter for a PB and J version. In cooler months a pinch of cinnamon or espresso powder gives these bars a cozy touch.
 Save
Save Let blondies cool fully before slicing and store any extras tightly wrapped. Bake a double batch to keep your freezer stocked for surprise cravings.
Recipe FAQ
- → How can I make the bars extra fudgy?
For a fudgier texture, slightly underbake and allow the bars to cool fully before slicing. This keeps the blondies moist and chewy.
- → Can I use chunky peanut butter instead of creamy?
Absolutely. Chunky peanut butter adds a delightful crunch and nutty texture, enhancing every bite.
- → Are there substitutions for chocolate chips?
Use chopped dark or white chocolate for a richer or sweeter flavor variation, or mix in both for extra decadence.
- → How should I store leftovers?
Store bars in an airtight container at room temperature for up to 4 days, or refrigerate for longer freshness.
- → Is it possible to make these gluten-free?
Yes, substitute your favorite gluten-free all-purpose flour blend for a gluten-free version. Check all ingredient labels for allergens.
- → What’s the best way to swirl the peanut butter?
Dollop peanut butter over the batter and gently swirl with a knife or skewer for a marbled effect.