 Save
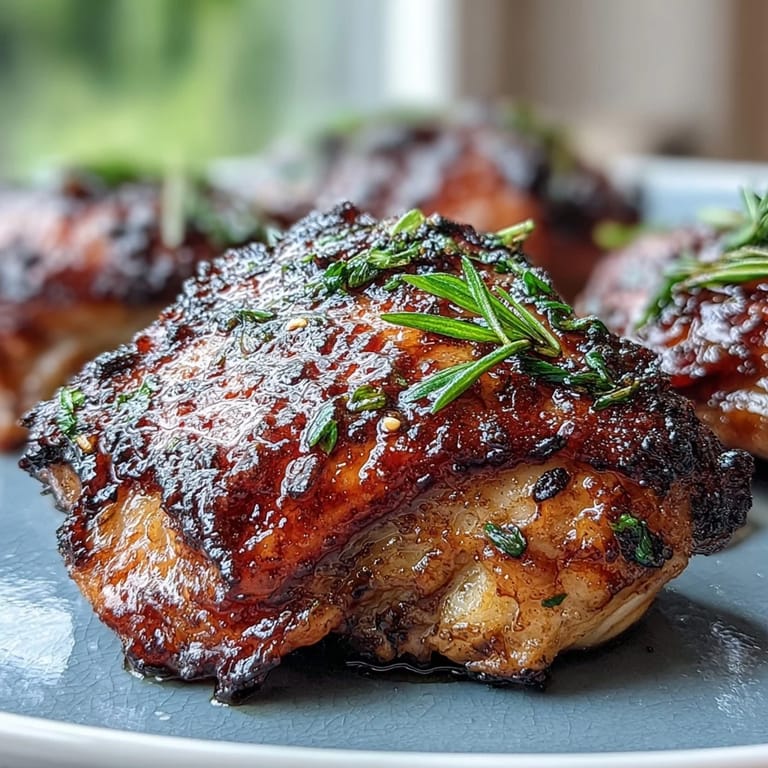
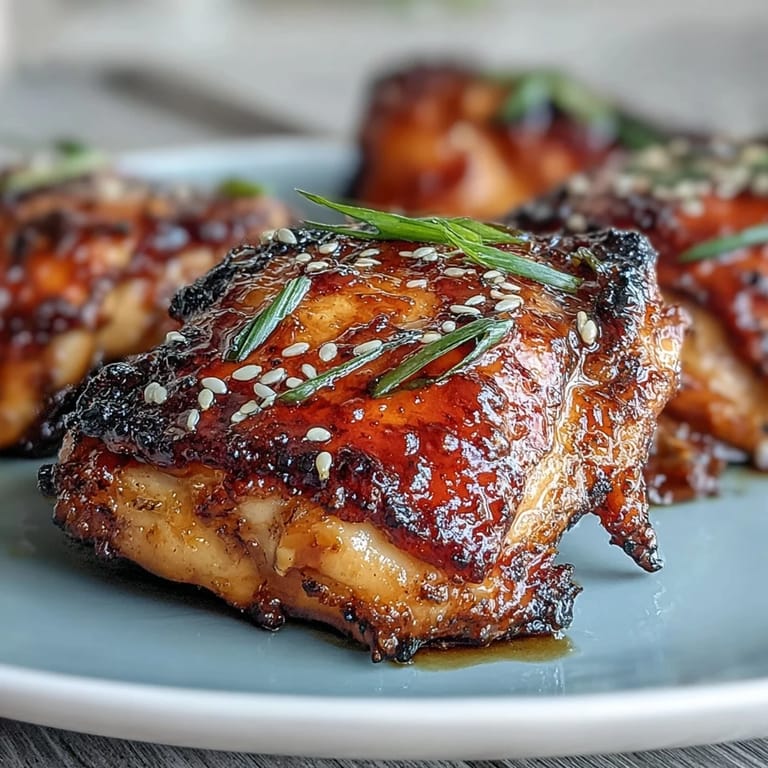
Save The first time this soy glazed chicken came out of my oven, the kitchen filled with a warm and savory scent that drew my family in before I even called them. The glaze bubbled and caramelized around the edges, making that little sizzle that promises something delicious. I remember debating whether to steal a quick taste straight from the tray—just to check, of course. Watching the sticky sauce cling to golden skin, I couldn’t help but get excited for dinner. There’s a quiet satisfaction to seeing something so simple look and smell so special.
There was one Tuesday evening when I made this for friends after a long day—we didn’t even bother using plates at first, just stood around the tray and laughed as we tried not to burn our fingers. That hot, sticky glaze clung to everything but somehow made the conversation lighter. It turned an ordinary meal into a memory because we were together, chatting about absolutely nothing important.
Ingredients
- Chicken thighs: Go for bone-in, skin-on—they stay juicy through baking and develop irresistibly crisp skin. Pat them dry for the best texture.
- Salt and black pepper: A simple seasoning, but don’t skip it—seasoning the chicken first ensures each layer has flavor.
- Soy sauce: I’ve found both regular and low-sodium versions work, but a splash of low-sodium lets the sweetness shine.
- Honey: The honey is what makes the glaze glossy and sticky, working double duty with the brown sugar.
- Rice vinegar: Just enough tang to keep things lively and balance the sweetness.
- Brown sugar: Adds a toasty caramel note that deepens the color and taste of the glaze.
- Sesame oil: Toasty and fragrant, a little goes a long way here.
- Garlic and ginger: Fresh is key—don’t swap in powders if you can help it. The aromas alone are half the experience.
- Cornstarch: Mixing it with water first helps you avoid lumps in your glaze; patience pays off with a perfect texture.
- Sesame seeds and green onions (optional): These finish the dish with a little bite and hint of crunch—I never skip them if I have them on hand.
Tired of Takeout? 🥡
Get 10 meals you can make faster than delivery arrives. Seriously.
One email. No spam. Unsubscribe anytime.
Instructions
- Prepare the oven and tray:
- Turn on your oven to 400°F (200°C) and set out a baking tray lined with foil or parchment—this step saves your cleanup later.
- Season the chicken:
- Pat the thighs dry, sprinkle with salt and pepper, then arrange them skin side up. That little routine makes the skin crisp and flavorful.
- Make the glaze:
- Combine soy sauce, honey, rice vinegar, brown sugar, sesame oil, garlic, and ginger in a small saucepan. Bring everything to a bubbling simmer, stirring often as the kitchen gets fragrant.
- Thicken the glaze:
- Stir cornstarch and water together first, then whisk into the saucepan. The sauce will thicken and coat the spoon after a couple of minutes—don’t walk away, it happens fast.
- Brush and bake:
- Brush half the glossy glaze over your chicken and slide the tray into the oven. Bake for 25 minutes while you try not to peek too much.
- Final glaze and finish:
- Pull the tray out, brush with the rest of the glaze, and return to the oven for another 10 minutes. The skin gets irresistibly sticky and caramelized at this stage.
- Serve and garnish:
- Lift the chicken onto a platter, sprinkle with sesame seeds and green onions, and listen for the ‘oohs’ as you set it on the table. Serve hot, with the extra glaze drizzled from the tray.
 Save
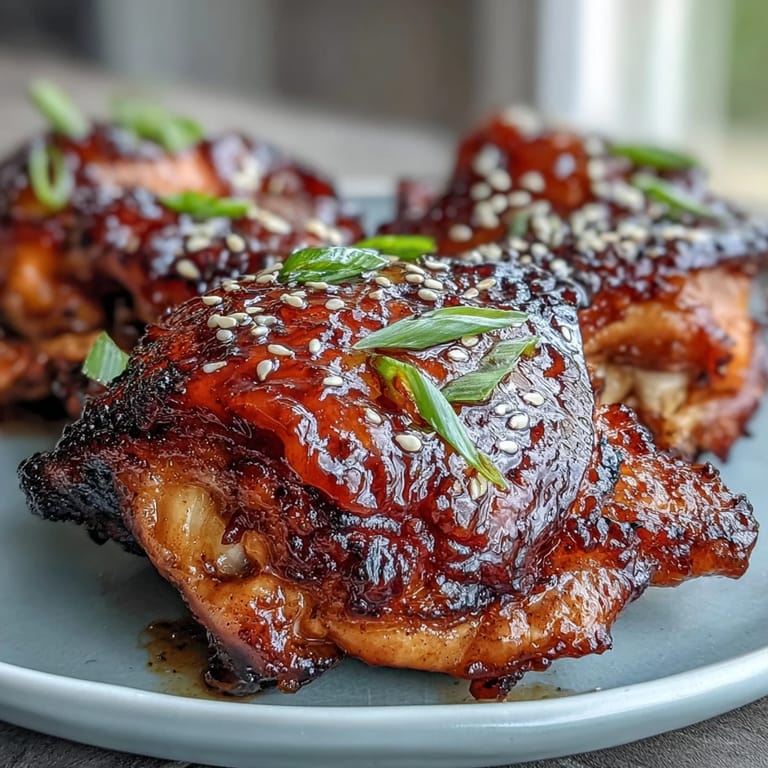
Save One rainy evening, my daughter poked her head into the kitchen just as I pulled this dish from the oven—her eyes widened and she said the kitchen smelled like her favorite restaurant. I knew then that this recipe was officially part of our dinner rotation and a little bit more than just a weeknight meal.
The Right Way to Caramelize
I used to worry the sauce would burn before the chicken finished cooking, but as long as you brush in two stages, you’ll get sticky, not scorched, results. Waiting to add that last layer lets the sugar caramelize without tipping over into bitter. Don’t be afraid of getting a little color—those crispy, deeply glazed bits are the best part for me.
Swapping in Other Cuts
This recipe is forgiving—drumsticks, wings, even boneless thighs will work if you tweak the timing. Just reduce the cook time for smaller pieces or boneless cuts so nothing dries out. The flavors hold up beautifully, every single time.
Shortcuts and Last Touches
I’ve been known to prep the glaze a day ahead or toss some rice in the cooker right when the chicken goes in. A few fresh green onions and sesame seeds at the end never fail to make it feel polished, even if you just threw it together.
- If you like things spicy, stir in a sprinkle of chili flakes to the glaze.
- Line your tray for easy cleanup—trust me, the sticky bits set fast.
- Don’t forget to let the chicken rest a couple of minutes before serving; it helps everything stay juicy.
 Save
Save May this sticky chicken bring the same warm, happy chaos to your table as it’s brought to mine. Easy, flavorful dinners deserve just a little bit of fuss—and a lot of enjoyment.
Recipe FAQ
- → Can I use boneless thighs instead of bone-in?
Yes. Boneless thighs cook faster—reduce baking time and check for doneness earlier. Aim for an internal temperature around 165°F (74°C) for juicy results.
- → How do I get the skin extra crispy and caramelized?
Pat the skin very dry, brush with glaze near the end of baking, then broil 2–3 minutes while watching closely to avoid burning. High initial heat and a final broil boost caramelization.
- → What can I substitute for honey for a different sweetener?
Use maple syrup, agave, or brown sugar (dissolved into the glaze) as alternatives. Adjust sweetness to taste and the glaze thickness with the cornstarch slurry if needed.
- → How should leftovers be stored and reheated?
Cool to room temperature, refrigerate in an airtight container for up to 3 days. Reheat in a 350°F (175°C) oven until warmed through to preserve crisp skin, or briefly in a skillet with a splash of water to re-glaze.
- → Can I make the glaze ahead of time?
Yes. Prepare the glaze and refrigerate up to 3 days. Rewarm gently before using; if thickened too much, loosen with a tablespoon of water and stir to recombine.
- → What sides pair well with these chicken thighs?
Steamed rice, fried or sautéed greens, simple noodles, or a crisp cucumber salad balance the sticky, savory glaze and add texture contrasts.